These are instructions on how to unlock your iPhone using SAM. This method will work with the iPhone 4S, iPhone 4, iPhone 3GS, and iPhone 3G on any jailbreakable firmware including 5.x.
Step One
Jailbreak your iPhone. You can find instructions on how to do that using the Limerain Jailbreak Tutorials Page.
Step Two
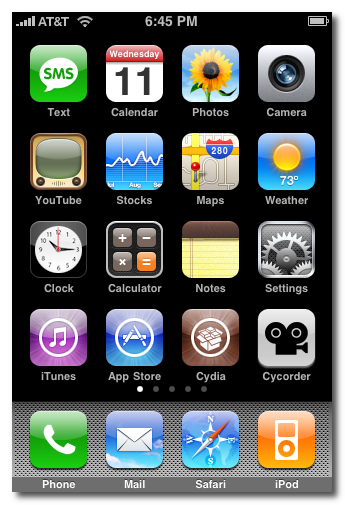
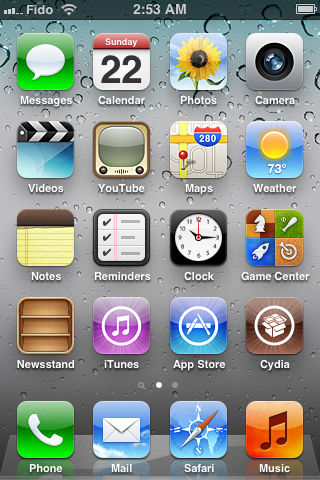
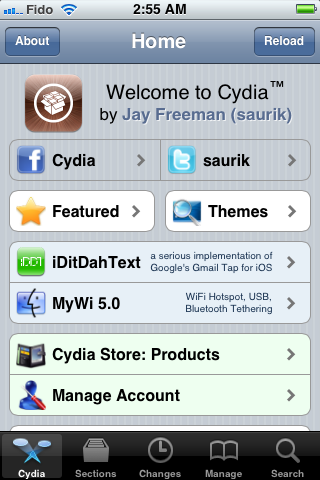
Tap to launch Cydia from your SpringBoard.
Step Three
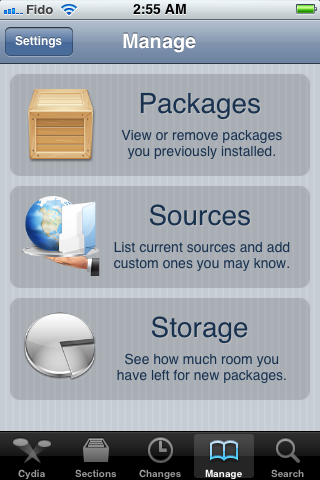
Press to select Manage from the tabs at the bottom of the screen.
Step Four
Press the large Sources button.
Step Five
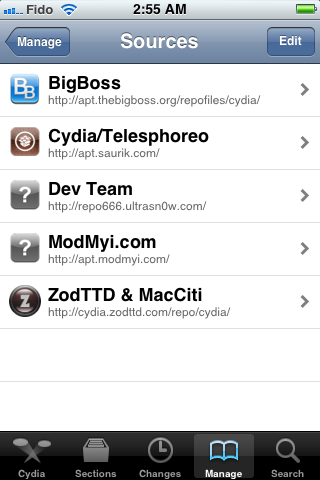
Press the Edit button at the top right of the screen.
Step Six
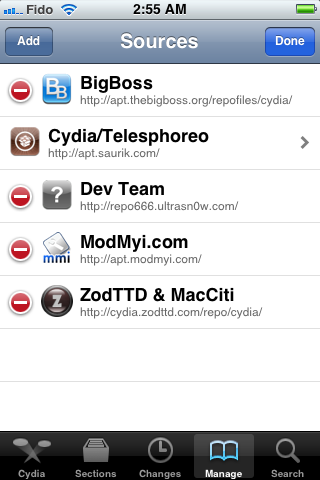
Press the Add button that appears at the top left of the screen.
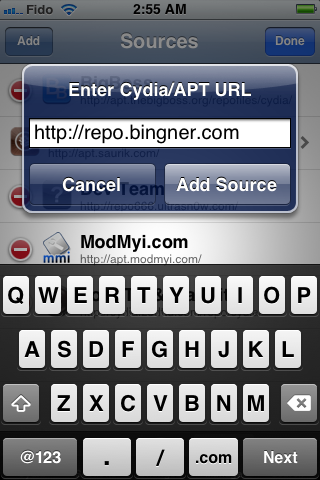
Step Seven
Enter http://repo.bingner.com and press the Add Source button.
Step Eight
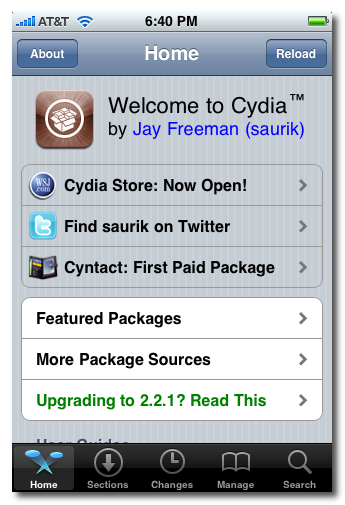
Press the large Return to Cydia button.

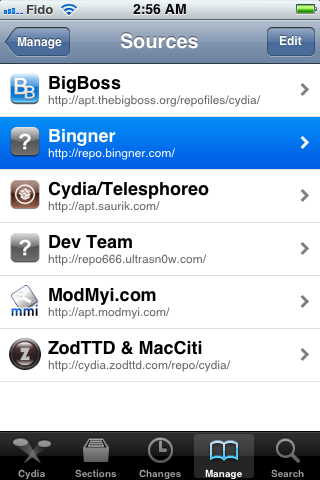
Step Nine
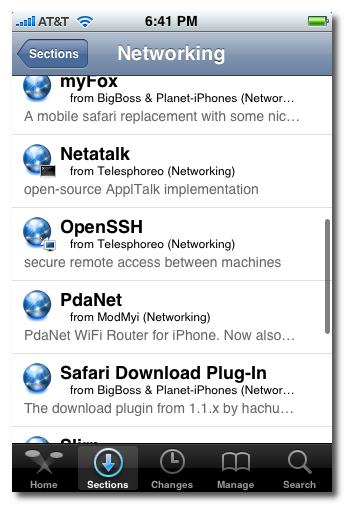
Press to select Bingner from the list of Sources.
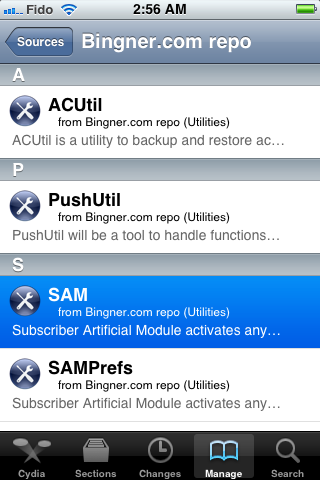
Step Ten
Choose SAM from the list of packages.
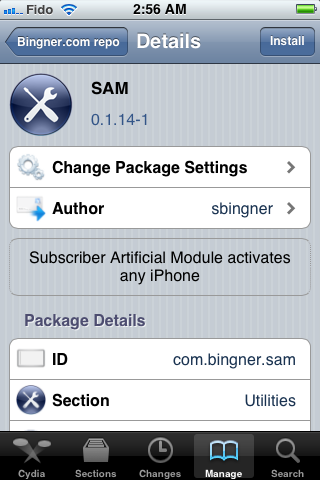
Step Eleven
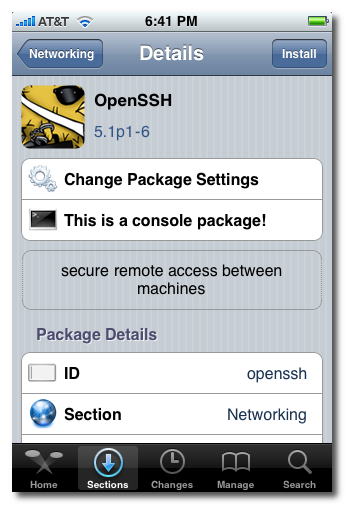
Press the Install button at the top right of the screen.
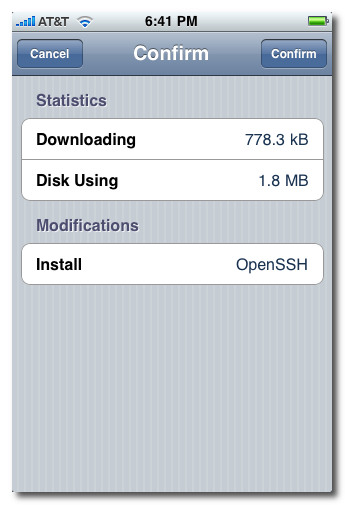
Step Twelve
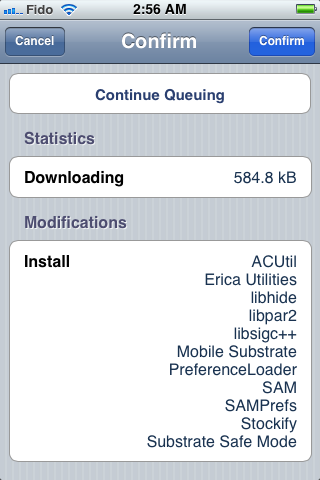
Press the Confirm button to begin installation.
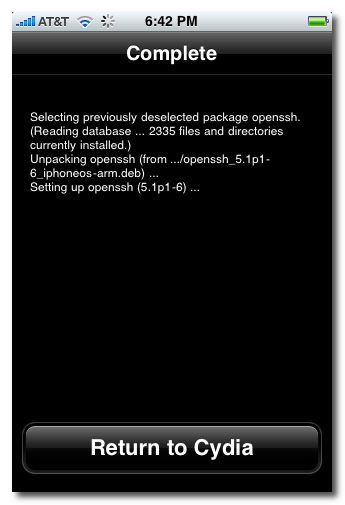
Step Thirteen
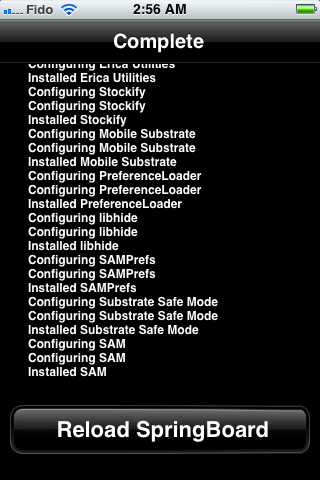
Once installation has completed press the large Restart SpringBoard button.
Step Fourteen
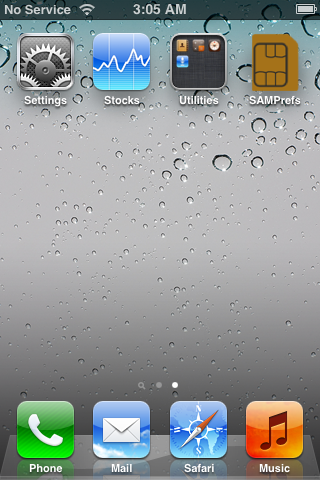
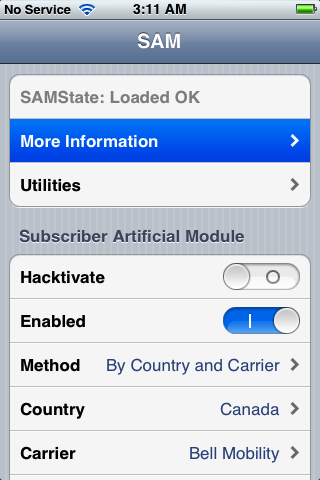
Insert your new SIM card and tap to select SAMPrefs from your SpringBoard.
Step Fifteen
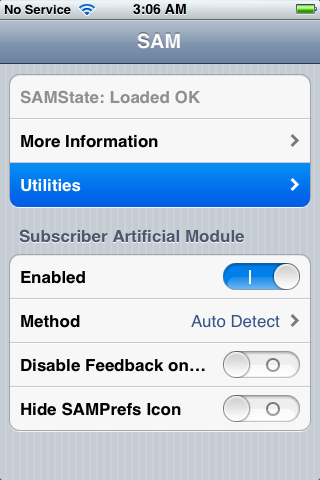
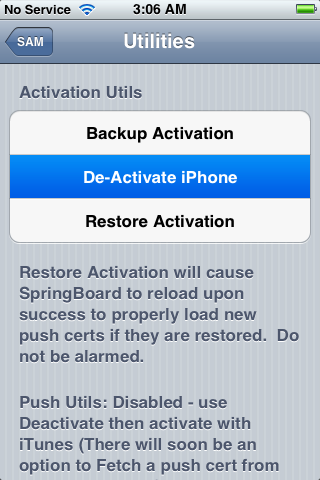
Tap Utilities
Step Sixteen
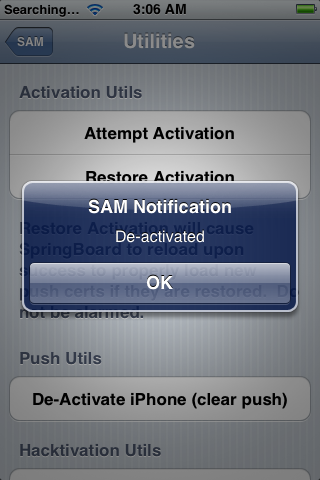
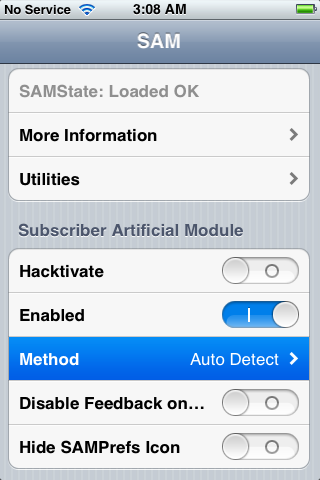
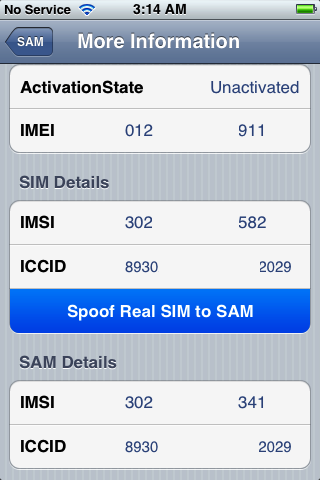
Press to select De-Activate iPhone. Your ActivationState under "More Information" should now be "Unactivated". If you don't have De-Activate iPhone you can use De-Activate iPhone (clear push).
Step Seventeen
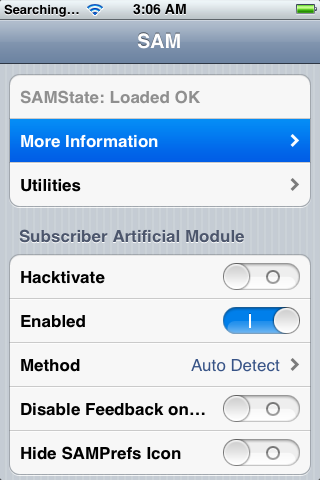
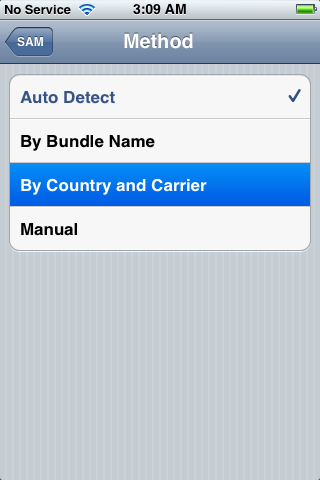
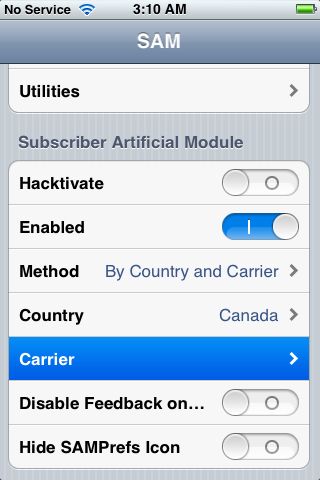
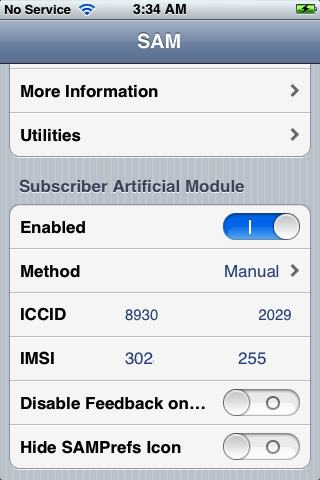
With SAM enabled, tap Method and choose By Country and Carrier.
Step Eighteen
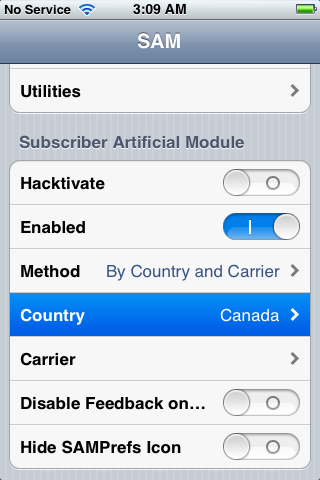
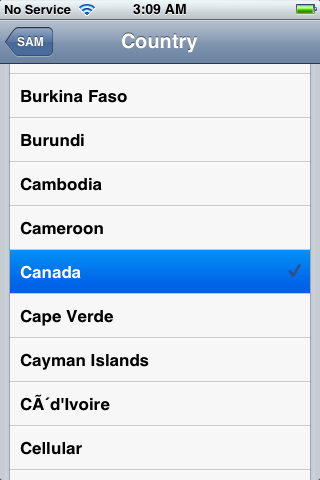
Tap Country and choose the country of your ORIGINAL SIM.
Step Nineteen
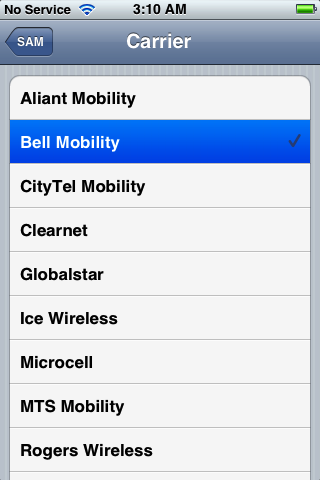
Tap Carrier and choose your ORIGINAL carrier that your iPhone is locked to.
Step Twenty
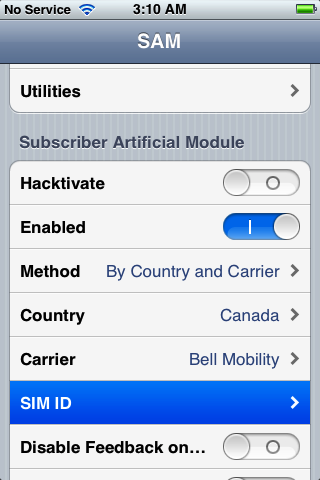
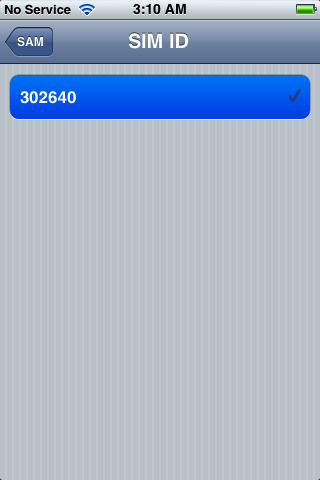
For some carriers operating more than one Carrier ID you may need to select SIM ID. If you are unable to activate in Step Twenty Four then you have selected the wrong one.
Step Twenty One
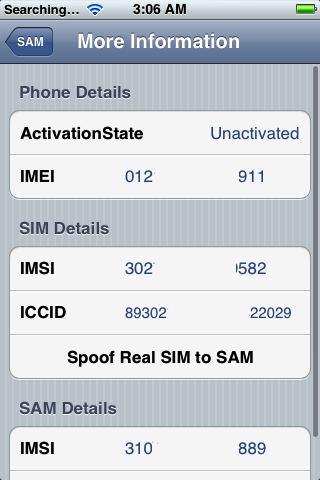
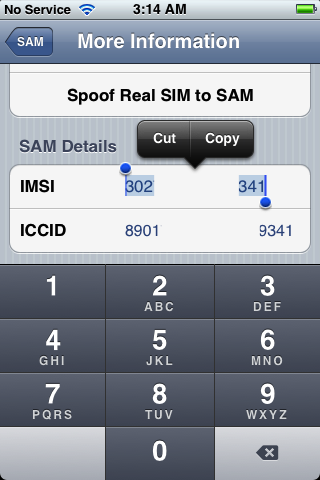
Tap More Information and copy the IMSI under SAM Details to the clipboard.
Step Twenty Two
Tap Spoof Real SIM to SAM
Step Twenty Three
Go back to the main SAM screen and paste the IMSI number in your clipboard.
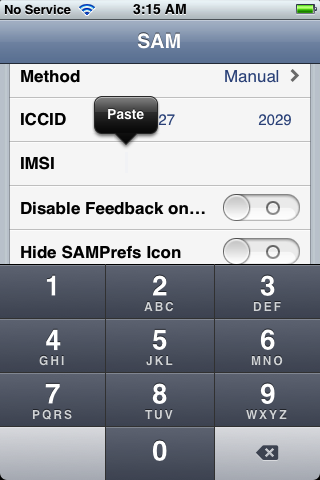
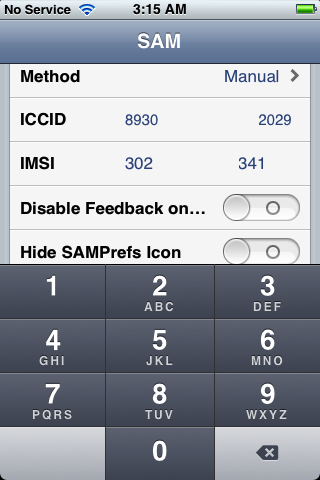
Step Twenty Four
Connect your iPhone to the computer and let iTunes reactivate your phone.

"Double click "Phone Number" parameter at the main device screen and make sure that the ICCID matches that of your SIM card." If not you need to start over from Step Fourteen."
Step Twenty Five
Unplug your iPhone from the computer and close iTunes.
Step Twenty Six
Reopen SAMPrefs from your SpringBoard and disable it using the Enabled switch.
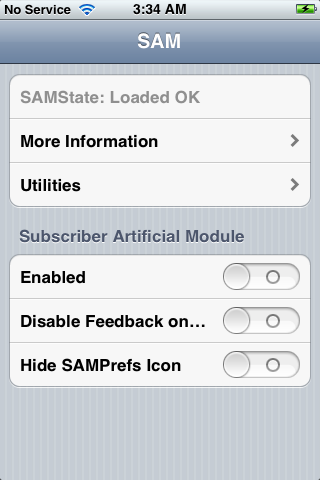
Step Twenty Seven
Connect your iPhone to the computer and launch iTunes again.
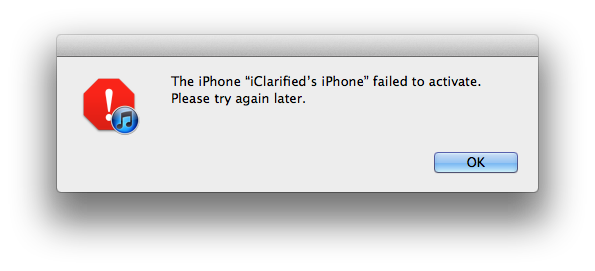
You should get an error saying that your phone cannot be activated. This is normal. Just close iTunes and open it again.
Step Twenty Eight
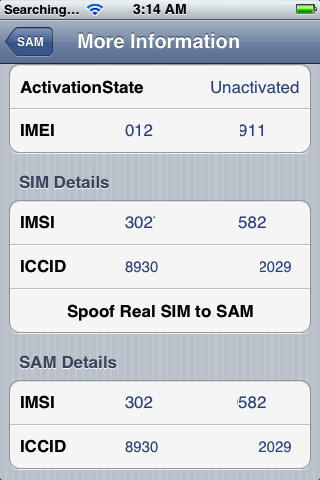
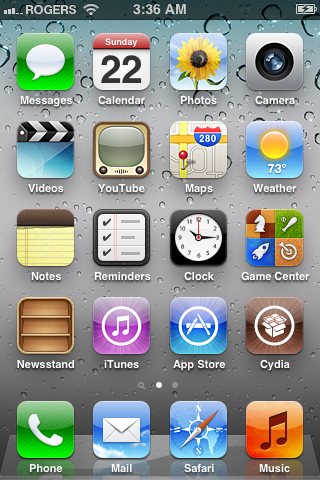
In a short time you should see signal bars. Congratulations!

Step Twenty Nine
You should now backup your iPhone unlock ticket in case this method is ever blocked. You can find instructions on how to backup the unlock ticket here.
IMPORTANT:
If push notifications stop after this process, you can restore then with the Clear Push utility in SAM, followed by connecting to iTunes.
Your phone will work normally with your SIM card and that SIM card ONLY since we have tricked iTunes to think that ICCID is one of the intended carrier's. The phone can be rebooted and connected to iTunes freely without losing the "unlock", at least for now.
A big thanks to Loktar_Sun and Laforet for their contributions!
UPDATES:
You can follow Limerain on Twitter, Facebook, or RSS for updates...
*thanks iclarified*
Send us a story or tip @ TipsForLimerain.com@gmail.com and follow our pages for the latest limera1n, rubyra1n, and all tech stories, follow us on Twitter at @iphonepixelpost or @limerain_com And like our Facebook page www.iPodSets.com - Posted using my iPhone 4